Thursday, October 3, 2013

Laundry Room Junk Drawer

Am I the only one that has a junk drawer in almost every room in the house???

I'm following along with Hilda at http://fromoverwhelmedtoorganized.blogspot.ca/ and her mission for the day was to declutter your junk drawer.  After looking at all 5 junk drawers in my house that could use a good decluttering, I decided to attack the one in the laundry room.  I recently posted a reveal on my laundry room face lift here, but I will admit that the corner cabinet and the drawer had been ignored.  By picking that one today, I'm one more step closer to completely finishing that room.

Here's the before (lots of stuff for a tiny little drawer):


I added a hook on the inside of the cabinet door for the lint brush and moved the mini Kleenex packs into a Kleenex box I covered with contact paper.  Once those two things got moved elsewhere, the garbage cleaned out and other things moved to where they belong, it was pretty easy to organize what was left.

I recently bought some cutlery trays at the $1 spot in Target for another organizing project and realized they didn't fit as well as I'd liked.  Low and behold, one of them fit perfectly in this drawer!  It slides along the edges of the drawer like it was made to fit.


Yay!  Another little organizing job completed.

Joann


Wednesday, October 2, 2013

More kid-friendly clothing drawers

My thirteen year old has a tendency to wear the same thing day in and day out.  He also complains that he doesn't have enough clothes.

I took some advice from Becky at http://organizingmadefun.blogspot.ca and re-folded his t-shirts so he can see what he owns.  Maybe this will help him see something else to wear.


My daughter on the other hand, knows darn well she has too many clothes (thanks to very generous friend's hand-me-downs) but her challenge is to find the one pair of pants she wants without destroying her entire dresser.  I can't guess how many times I've gone into her room and found almost everything she owns dumped on the floor!  She hangs all of her shirts, but has 4 drawers full of bottoms -  leggings, sport pants, skirts and pants.  Let's hope this method will the do the trick for her too.  In her case, I just rolled them up and put them in some plastic shoe boxes we had laying around not being used.


Thanks for the tip, Becky!


Tuesday, October 1, 2013

Decluttered and Organized sock drawer

I decided to follow along with Hilda at  http://fromoverwhelmedtoorganized.blogspot.ca for her 31 days of Decluttering.  Today was Day #1 - the sock drawer.

I bribed my family with a tasty pear cake for dessert and got them to each declutter their drawers too. If you're interested in that the recipe can be found here at Taste of Home.

My 16 yr old informed me he doesn't really have a sock drawer, he just throws them in with everything else. No wonder he always thinks he's out of socks!!  It didn't take long to convince him this probably wasn't the best idea.
The 13 yo was gung-ho and threw out a lot of holey ones, so he probably needs new ones.  Maybe that explains why he kept taking mine.
 My husband found a bunch of my oldest son's in his drawer so I guess I need to do a better job of learning whose is whose when I'm separating the laundry.  Either that or get the teenagers to start doing their own laundry.
The males all bought into the decluttering process, but none of them were interested in doing more than just throwing them all in the drawer.

My 11 yo daughter decided she wanted to have her drawer organized like mine.  So happy there is someone in the family who likes the idea of being organized.  She and I made a quick stop at JYSK on the way home from an errand and found these divided drawer inserts for $5 each.  I know we could have made our own, but this way it's done.  We are now both organized and decluttered!! (and we realized we both have a lot of socks.......)


Monday, September 30, 2013

Laundry Room Face lift Reveal

After eight years of living in our home, I decided it was time to pretty-up my laundry room.

I posted the before pictures 
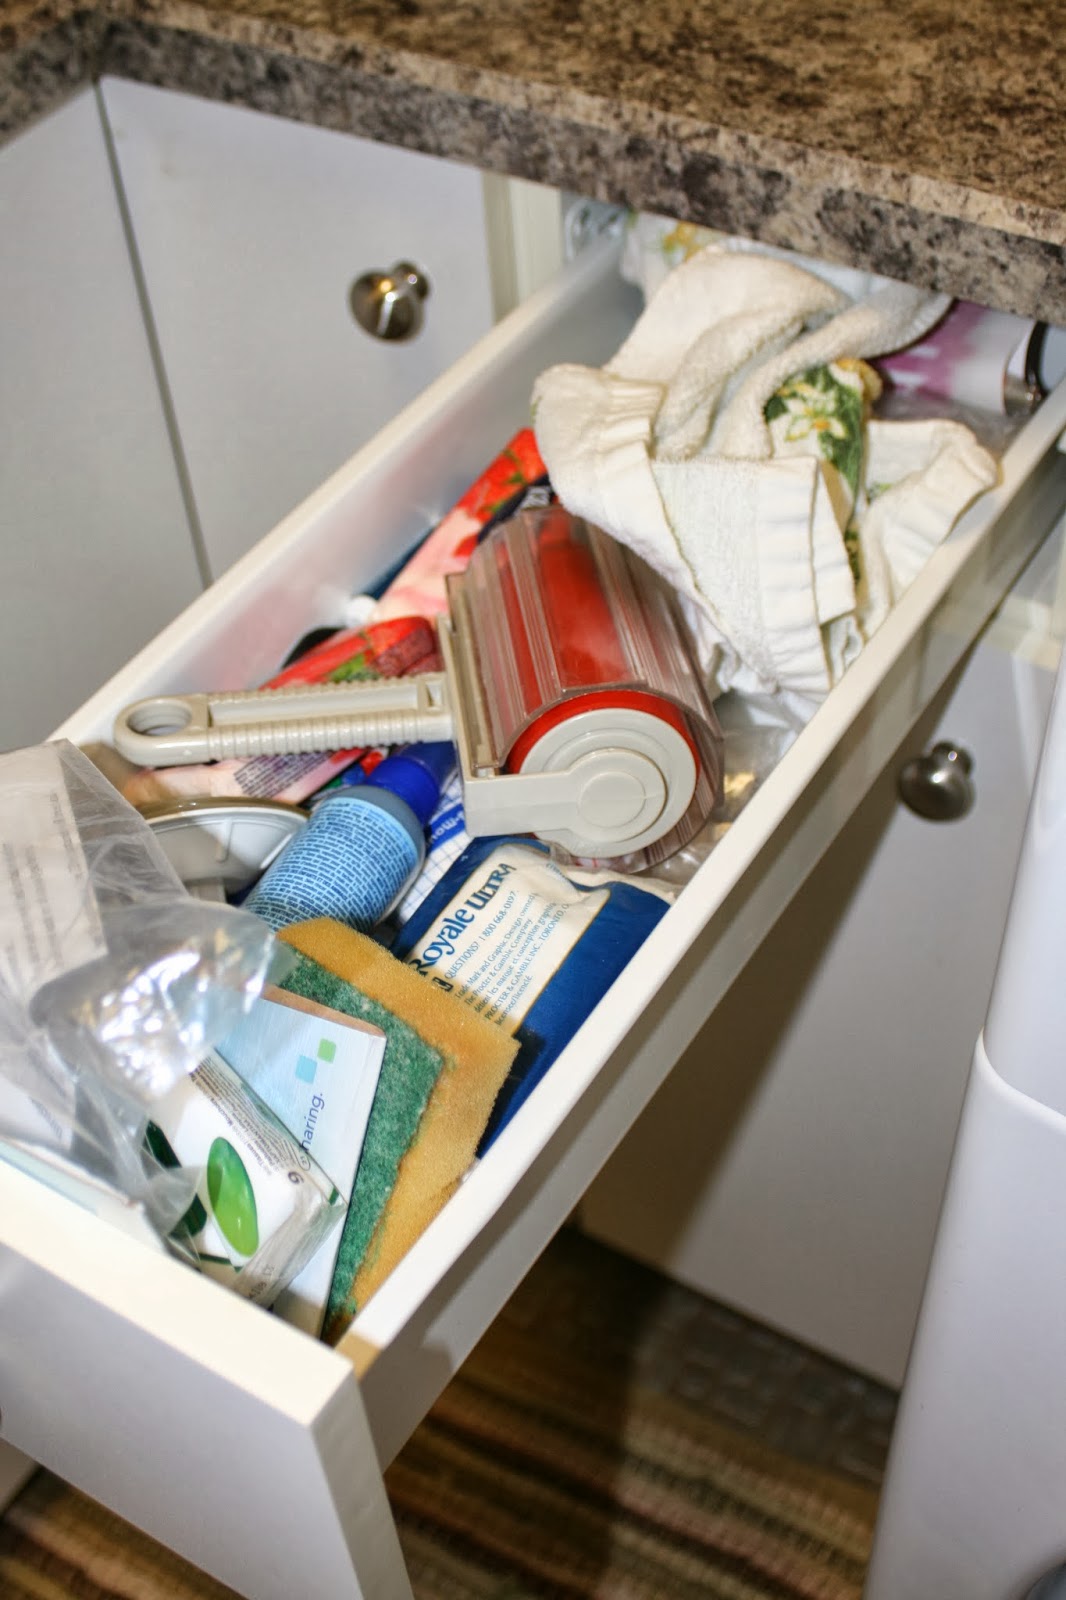
here.  Pretty messy and pretty boring.  I had no intention of major overhauls or to spend very much, I just wanted to make it a little more enjoyable room to be in.

Here is the result:


Not a lot of time or money put into it, and I'm liking the result.  

Here's what I did:

1.  Removed the door between the laundry room and mudroom.  There is another a door that leads from the mudroom into the hall, so it really wasn't a necessary door.  The front loading washer requires the door to be left open after using it which meant we couldn't close the laundry room door anyway.  By removing the door, I essentially gained a wall of storage space.  I was able to move the iron and ironing board from the storage room to here where it should be.  I did purchase a new ironing board cover that matched the room better. The old one was probably 25 years old and had ducks on it!  It was definitely in need of replacement.

2.  Added quotes in spray painted old frames and large clothes pins to the same wall.  More information on that can be found on this post.  


3.  Added some baskets that I had laying around to store light bulbs and misc. supplies.  I used the same brown spray paint on the one and the other already matched well enough.  


4.  Added some labels to my sorting bins using some card stock, ribbon and my label maker.

5.  Covered the washer and dryer in contact paper.  Not only does this make it a little prettier, it's also very easy to wipe down.


6.  The biggest impact is from the new paint color.  In our community, we have a paint recycling program.  I was returning my cans and bottles at the local recycling depot, and decided to take a look to see what was there was for paint.  I found a can of this color which was almost the exact color I was looking for.  It was in great condition, about three-quarters full, and free!  


7.  The idea for the color all came from this basket that I won in a raffle.  The paint color looks closer to a match in real life.  The basket is now my lost sock collection spot.  I also added a few other decorative items I had around the house and a small jar for buttons all arranged on an old plastic Ikea tray which I also lined with contact paper.


8.  Added these tin decorative panels which used to hang in our half bath.  Visitors always seemed to knock them off the wall, leaving marks and me questioning what they were doing in there.  They did look better hung one above the other, but I think they work okay in here on the separate walls.


9.  Decluttered and organized the cabinet above the washing machine and lined the shelves and back cabinet wall with the same contact paper.  I already had the baskets in there, but for some reason it seems far more organized now.  And I have half an empty shelf, which I'm sure I'll find a use for soon.


10.  Added a dryer rack to the inside of the lower cabinet for wet rags and such.


11.  Re-purposed an Ikea bag holder to use for rags.  I don't use plastic bags much anymore so this holder was also just sitting in the storage room not being used.


Not a lot of work went into this to, but I'm happy with the results.  Total spent was $30 - spray paint ($6), clothes pins ($5), ironing board cover ($10), dryer rack ($1.50) and contact paper ($7).

From this:


To this:


Now can I keep it this clean for long!!!

joann


you may find me linking up here

Monday, September 23, 2013

Fall decor

Fall has arrived.......

I'm not sure whether to be glad or disappointed.  As much as it's a little sad to see our short summer end so quickly, I do like the comforts and routines of fall.

I decided as the temperatures dipped this weekend, it was okay to haul out the bucket of fall decor items.  I typically spread the items out over three or four place around the house, but this year decided to put quite a few of them in one display on the side table in my eating nook.  Maybe if it looks pretty the kids will be less tempted to use it as a dumping grounds (likely wishful thinking on my part, but worth a shot).

I also decided to try making a pumpkin out of some old paperback books as I've seen done by many on pinterest.  Other than the scissor blister on my finger, it was pretty darn easy!


All of the other items were in my stash, just arranged a bit differently than in the past.  I'm happy with it......now on to "fall-up"  the other flat surfaces in my home!

joann

You many find me linking up here

Sunday, September 22, 2013

School lunch menu Week 3

Week 3 of school already!  It doesn't take long to feel like summer break was a long time ago.  We had a very busy week with some of my volunteer work, the kids sport evaluations and homework starting up.  It was sure nice to have my lunch menu already finalized and items in the freezer ready to go.

Here is the kid-approved menu for the past week:


Hopefully this can help you fill your lunch kits with a little less morning stress.

Joann

you may find me linking up here 

Sunday, September 15, 2013

Laundry Room Face lift - Part 1

As any Mom of three kids knows, I spend a lot of time in the laundry room.  I decided it was about time to make it work better and look better.

Here are some before pictures.


I really didn't stage this.  This is typically how bad it looks!


Yes, it needs some work, but it also had some things that have been working well, like the four laundry bins I use for sorting.  Ideally, I would like the washer and dryer beside each other (or at least on the same wall), but when we were building the house they determined there were too many turns in the dryer vent hose to pass inspection if it was beside the washer and by that time, the plumbing was already in for the washer and sink.  We decided on this set up, and it works okay - not ideal but things could be a lot worse.

We've been in the house 8 years now, but making the room 'prettier' hasn't really been high on the priority list.  I decided it was a small job and I knew I could pull a lot of unused items from around the house, so could also be a very cheap face lift.   The idea for the room started with this basket that I won in a raffle draw.  It was filled with lots of pampering items which I've enjoyed, but I had yet to find a spot for the basket itself.  I dawned on me, it would be a good starting point for my laundry room.  The walls, like almost everywhere else in the house are Benjamin Moore's Clarksville Grey, which is I think of more as a green than grey, even though that doesn't show in the photos.  It and the counter tops worked with the basket, I just needed to add in a little more color somehow.


I decided that since our front-loading washer always has the door wide open, preventing the door to the laundry room closing, we may as well remove the door to the room.  The laundry room opens onto the mudroom which has a door to the hall, so it wasn't critical to have a door anyway.

One of my biggest pet peeves in this room is my husband's habit of hanging his sweaty workout clothes on the top of the door, the open washer door, the fabric laundry baskets, etc. etc.  He comes home with his sweaty gear too late to do a load of wash so he spreads them out all over the place to dry.  Not a great sight to look at :).

I figure I could get this done in about a week if I focus - which I admit is not always easy for me :).

I decided to start with the door and the larger wall I would gain by removing the door, which after about an hour of effort, now looks like this:


I found the cute printables at Thirty handmade days, spray painted some old frames brown and found some large grey clothes pins in the $1 spot at Target.  I attached the wooden clothes pins using some Command Strips that I had on hand and they seem to be holding up quite well after a week's worth of use.


The ironing board and the holder were down in the basement storage room since I didn't have room in the laundry room before.  This works so much better.  Not that really iron regularly, but there are those few instances I need to.  The pins cost $5 total, the new ironing board cover was $10 at Walmart, the can of spray paint $6, and everything else I had on hand or printed off.  Pretty cheap so far and I have some other cheap ideas I need to finish up with this week.


You may find me linking up at the parties listed here